In the world of two wheeler design, the difference between a premium vehicle and a budget one often lies in the details that a customer may explicitly notice and will certainly feel over time. They might perceive or describe a scooter as "solid" or a motorcycle as "precisely built." To an automotive professional, those descriptions are the direct result of a perfectly executed part split strategy. A part split is more than just a seam where two parts meet; it is a cross functional handshake between the Design Studio, the CMFG (Color, Materials, Finishes, and Graphics) team, the engineering team and the Manufacturing department. This article explores how these disciplines converge to decide where one part ends and another begins.
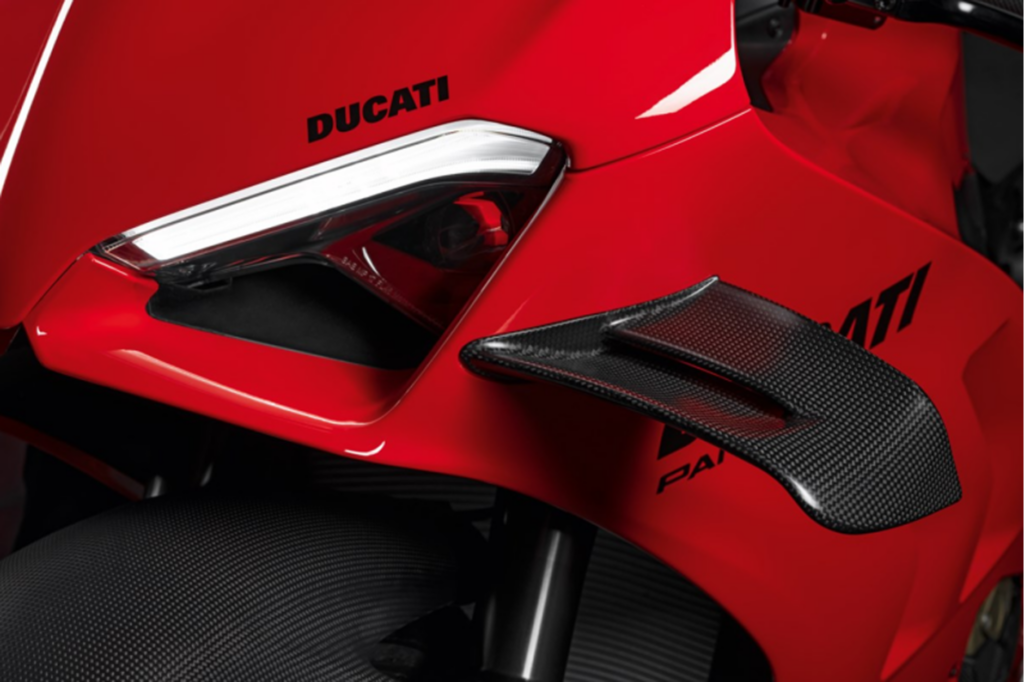
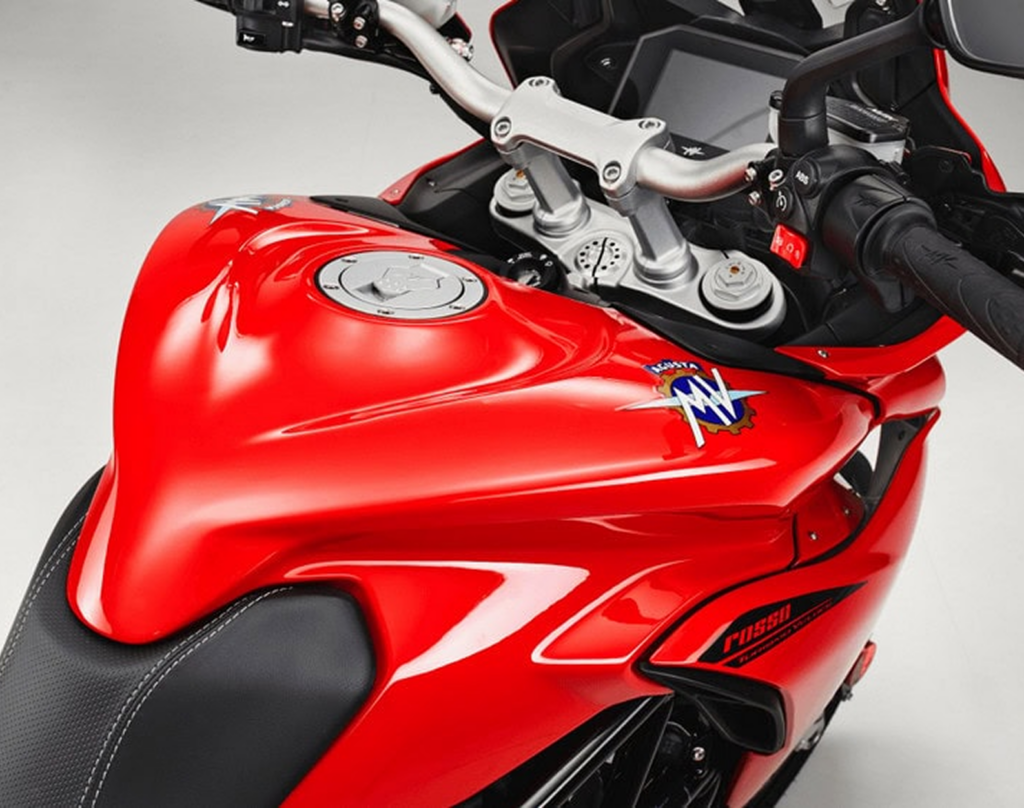


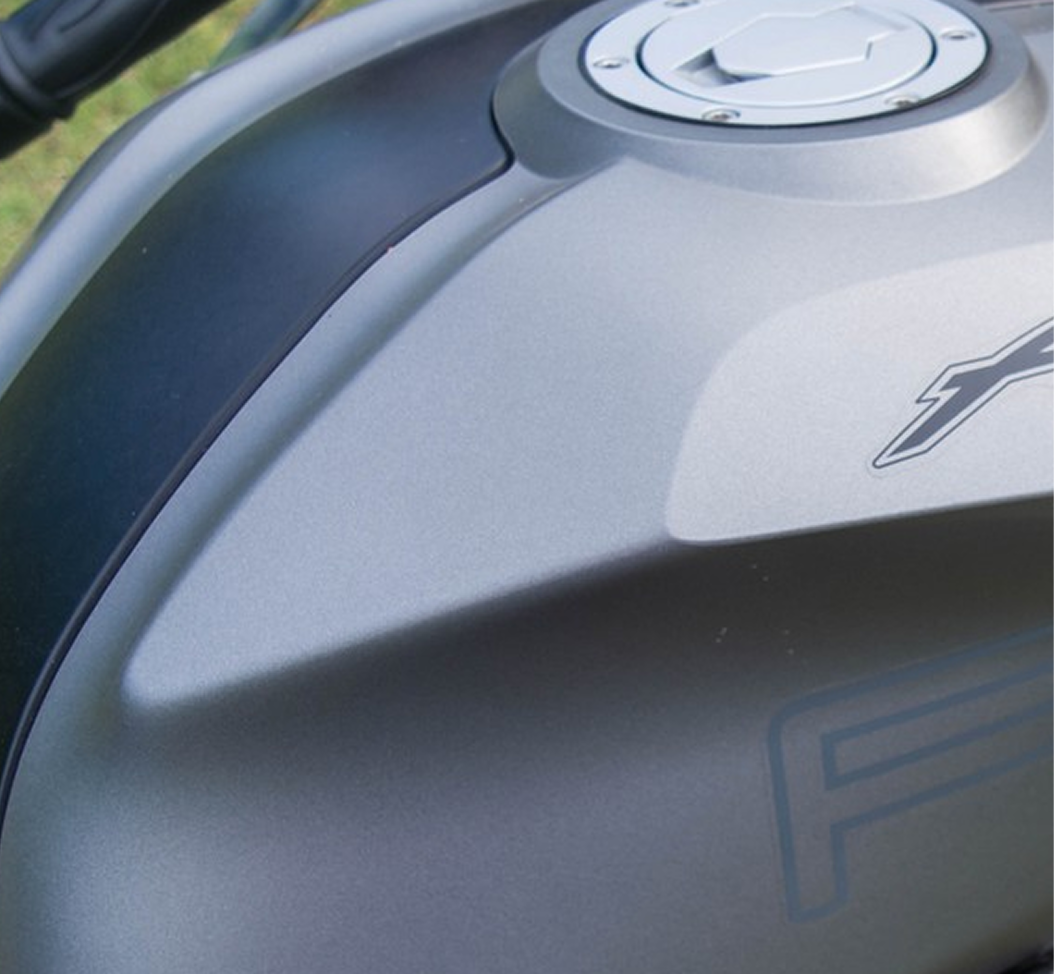
The split line is the critical point where aesthetic vision meets the reality of assembly. A well defined split line serves several primary purposes: it facilitates the manufacturing of complex shapes that cannot be molded as one, it allows for the application of multiple colors and textures, and it enables efficient assembly and future serviceability. Understanding the split line is essential because it affects the A-class surface, which is the visible, high quality outer skin of the vehicle that the customer interacts with daily.


Previous
Introduction to Wheels
Next
Design for Serviceability and Part Lifecycle